 |
Ok as I have some experience now ... this is my second tutorial I will start with ... NAT. NAT as you probably know stands for (Network Addresses Translation) and is probably the best thing you can get form your home network. NAT makes possible to share your Internet Connection with every PC, Laptop, iPAQ or Mobile with network support and so on, that you have home. In the tutorial I presented few day ago I used Proxy (ezProxy from Lavasoftware) it's very good but using NAT is easier. Let's start with the screen shots. As usual a lot of scr shots (to compensate my poor English) and a bit of text (for the one that understands me) :). There are more tutorials at the index page * For easy understanding the screen shot actions are in red square. |
|||||||
1.  |
2.  |
3.  |
||||||
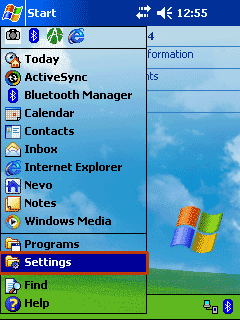
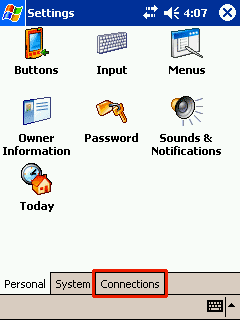
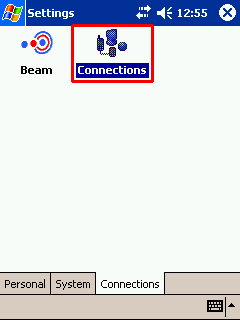
| Tap the "Start" then select the "Settings" item for the drop down menu. | New you click on the "Connections" on the bottom nail. | Double Click the "Connections" icon | ||||||
4.  |
5.  |
6.  |
||||||
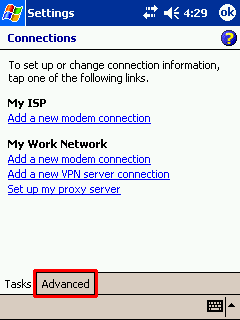
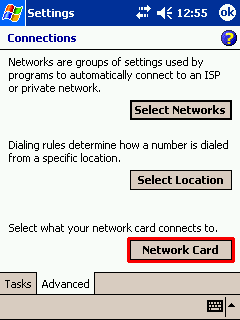
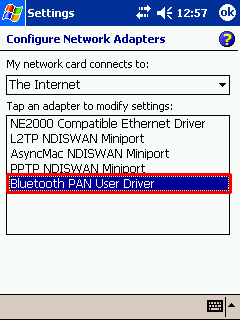
| In the Connections screen on the bottom click the "Advanced" nail. | Then tap the Network Card. This is whare we are going to setup you IP address. | Add IP address for the "Bluttooth PAN User Driver". Do a normal TCP/IP network setup for this adapter. | ||||||
8.  |
9.  |
|||||||
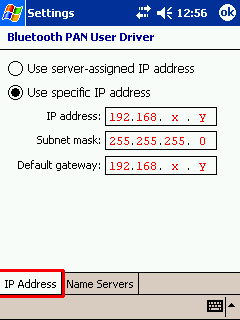
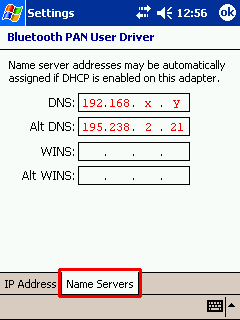
| Here you have to setup a fix IP address so: So tick "use specific IP address" then put IP, Subnet Mask and Gateway in harmony with you actual network configuration. I’m using windows box with an ISC (Internet connection sharing) for the NAT. so my IP is 192.168.x.y my Subnet Mask is 255.255.255.0 and my Gateway is 192.168.0.1 as windows ISC default requires. Detailed explications "HP 2215 Internet Setup NAT/ICS the Computer configuration" |
DNS is up to you. As I use NAT the DNS is directly my ISP DNS Server. Bun in the name of the game you can use your proper DNS server and add 192.168.0.1 if you have one up and running. exp. Belgacom Skynet Belgium have 195.238.2.21 and 195.238.2.22 for the costumers network. These address work only for Skynet.be costumers. Now click "OK" until you come back to your start position. Let's make the BlueTooth setup. |
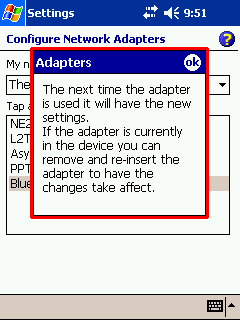
As you can this is just a warning message. | ||||||
10.  |
11.  |
12.  |
||||||
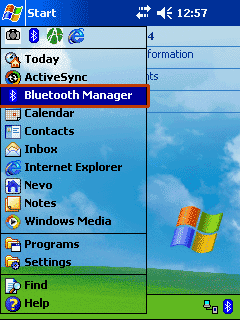
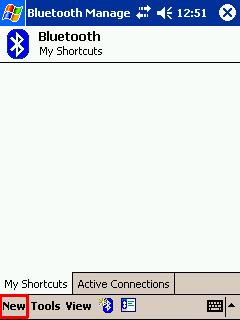
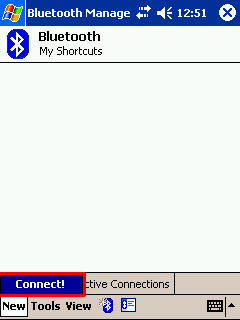
| One again "Start" and then "Bluetooth Manager" | Now here you will see a list (icons) of your connections. Actually it is empty but not for long. Now click on the "New" on the bottom menu. | Then "Connect!" this is easy | ||||||
14.  |
15.  |
|||||||
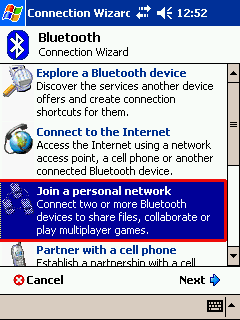
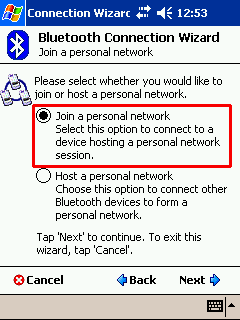
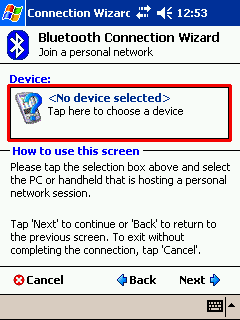
| Here form the list you have to select "Join a personal network". I know that the "Connect to the Internet" sounds better but trust me. Best think to do is to select "Join a personal network". I was trying to use "Connect to the Internet" but it does not work apparently if you have DHCP Server that can take care of the bootp requests from the PDA it may work. Traffic capture example. | Next tick "Join a personal network" and then click "Next". | You now have to select the PC. Just click into the <No device selected> or click "Next". | ||||||
16.  |
17.  |
|||||||
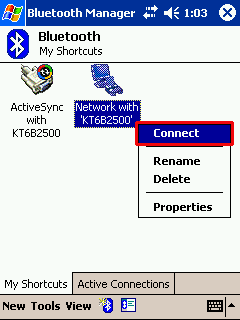
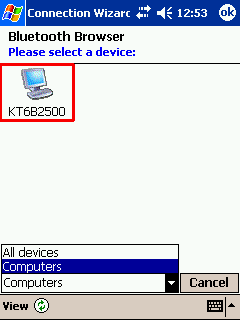
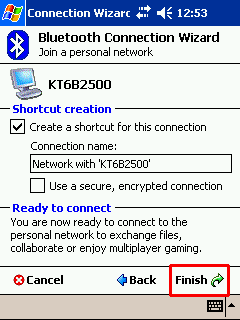
| You will see you PC been discovered. Click on it. | Click Finish. This is all. Your BT is ready. | Click and hold (Right click for PDA) and select "Connect" from the drop down list. Here by normal Traffic capture example. | ||||||
 |
||||||||
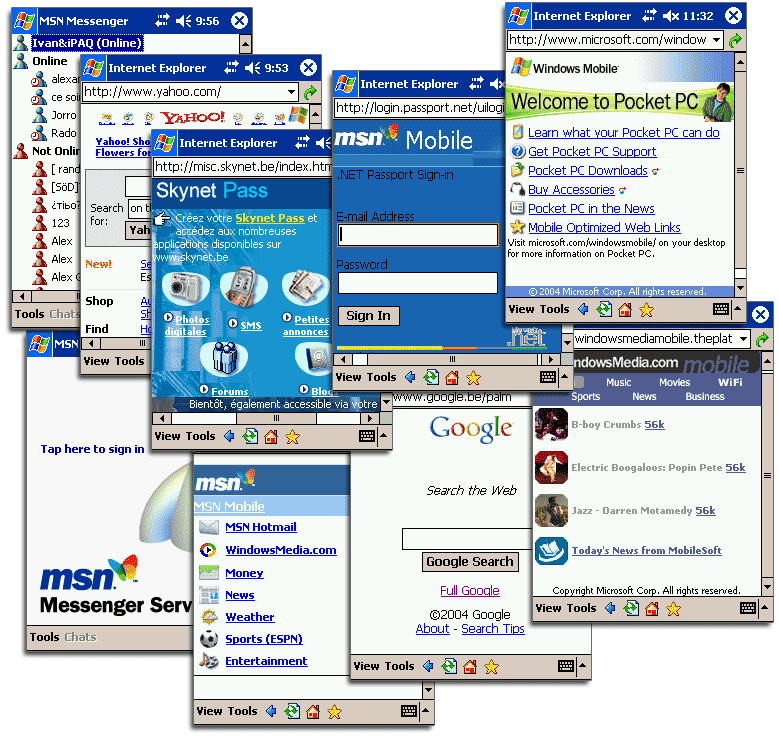
Finally you will be able to do all this Surf, Chat, Play and many more. Isn’t this all what we care for? Having you PDA connected on your BlueTooth Home Network.
Detailed explications "HP 2215 Internet Setup NAT/ICS the Computer configuration" Few tips. |
||||||||
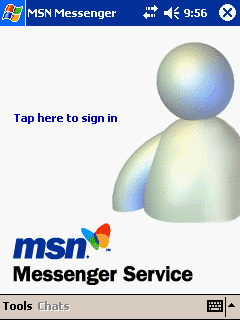 Your MSN Messenger need update the one that come with the Default HP 2215 Windows CE dose not work. You can download it form Microsoft. Direct Link |
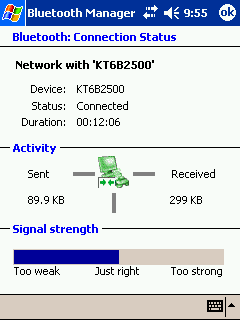 What you see is you Signal strength. But it is fake this is just a image. It never move left or right. :) |
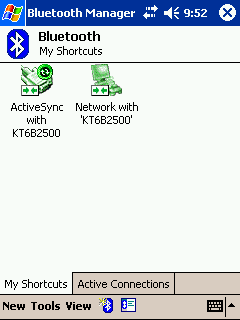 As you can see on the SCR shot I'm Network Connected and the SYNC is connected too. Do you think I can still serf? :) |
||||||
